How to Fax From a Canon Printer? [Includes Test Fax Instructions]
How to Fax From Canon Printer: A Step-by-Step Guide
Setting Up Your Canon Printer to Fax
1. Sign up for eFax
Begin by signing up for an eFax account and getting a free number.
2. Check Printer Compatibility
Some printers come with built-in Canon fax machine capabilities. Refer to the Canon website for more information.
3. Connect Your Canon Printer
Set up your Canon printer to connect with eFax. Follow the printer’s user manual or online guides to establish a connection to your eFax account.
4. Configure Fax Settings
Configure the fax settings on your Canon printer as instructed by the user manual for your particular model.
5. Test the Connection
Send a test fax from your Canon printer to ensure that the connection is established correctly and verify that you can send and receive faxes. You can test it by sending a fax to Canon at 1-855-FX-CANON (1-855-392-2666). If it’s set up properly, you’ll get a confirmation.
How to Fax From Your Canon Printer
Most Canon printers with built-in fax support can automatically answer and receive incoming faxes.
1. Prepare Documents
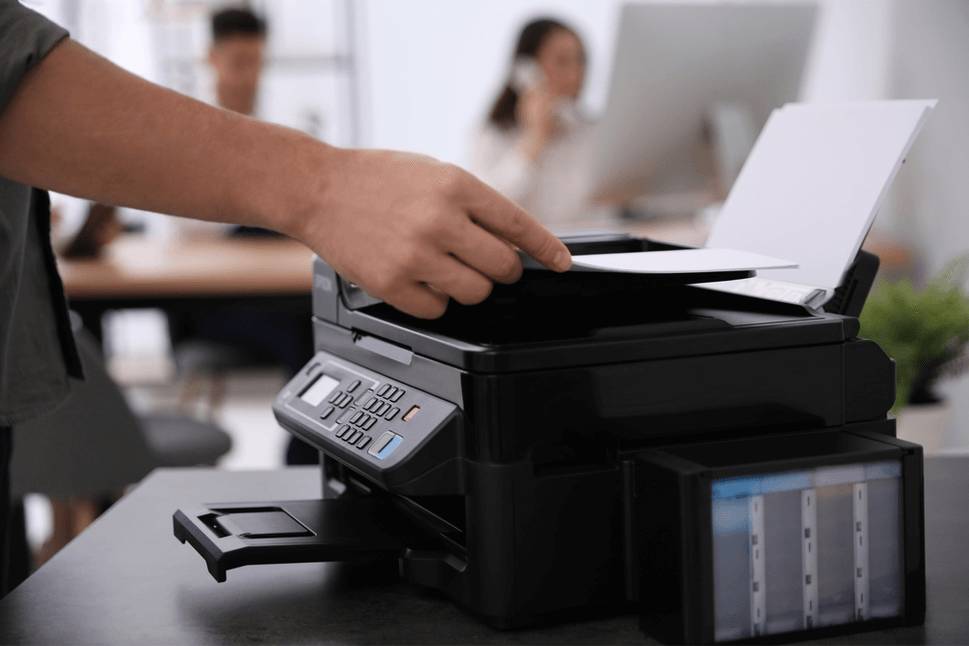
Begin by preparing the document that you’d like to fax. If there are multiple pages, remember to arrange them in the correct order before placing them in the feeder. Alternatively, you can scan documents and save them on your computer using Canon’s scanning software before faxing.
2. Access Fax Function
Access your Canon printer’s fax function from the device’s interface or control panel to fax the document.
Using a computer, you can usually send the document as you would any other file by following your operating system’s “Print” dialog and selecting the Canon printer as your device.
3. Enter Recipient Details
Input the recipient’s name and fax number into the designated fields. If sending to multiple recipients, you can add them for bulk faxing.
4. Send Fax
Once ready, hit the “Send” button.
5. Receive Fax
You can set up your Canon printer to automatically receive faxes. If your Canon printer is set up to receive faxes manually, answer the incoming call and press the “Start” or “Fax” icon on the printer’s interface to receive the document. The incoming fax will be printed out or stored in the printer’s memory, depending on your setup.
Integrating Canon Printers with eFax for Seamless Fax Management
Canon printers have a long-standing reputation for being one of the top brands on the market and offer a wide range of features that make them ideal for businesses with high-volume printing needs.
When combined with eFax’s online faxing service, Canon printers can be used to send, receive and store faxes all from a single device.
Using a Telephone Line to Fax?
Before you start using your Canon printer for faxing, it is essential to know whether your printer model is compatible with your telephone line. Canon printers typically support both analog and digital phone lines. However, checking your printer’s manual to confirm compatibility is essential. Once that’s done, follow the steps in the manual to set up your Canon printer for faxing. This process generally involves connecting the printer to the wall telephone jack, configuring fax settings and entering information such as your business’s name and fax number.
Once your Canon printer is set up for faxing, you can easily send a fax. Begin by preparing the document that you’d like to fax. If there are multiple pages, remember to arrange them in the correct order before placing them in the feeder. Alternatively, you can scan the document(s) and save them on your computer using Canon’s scanning software before faxing.
How to Use a Canon Printer Without a Phone Line
One of the great things about using an online faxing service like eFax is the way it extends the functionality of your Canon printer without needing a phone line.
Setting Up a Canon Printer with eFax
With the help of eFax online fax service, you can easily set up your Canon printer with a dedicated fax number and start sending or receiving faxes without the need for additional hardware. After you establish your eFax account, follow the steps below to set up your Canon printer for faxing:
- Log in to your eFax account at https://portal.efax.com.
- Select “Send Faxes” and enter the recipient’s name and fax number into the designated fields. You can add more than one recipient for bulk faxing.
- Attach any documents that you want to send using your Canon printer or upload directly from your computer. You can also scan documents or simply use pictures of pages that you want to fax from your smartphone device.
- Include a short cover letter outlining the fax contents.
- Hit “Send.”
Check the Fax Inbox on your online eFax Portal dashboard which is where you can view incoming messages and retrieve attachments when they arrive. One of the great advantages of an eFax account is the storage facility which is available for keeping all sent and received faxes safely organized in one easy-to-access online platform. You will receive email notifications when someone has sent you a fax message, complete with any attached documents for viewing or further action as required.
Alternatives to Faxing With a Canon Printer
You can use eFax to send and receive faxes from other devices or a mobile online fax service. Learn how to fax from a computer or use these guides for other alternatives:

“eFax® is one of the most feature rich and well-known online fax services on the market and includes features like mobile apps, e-signature capabilities, …compliance and unlimited fax storage…”
See More eFax Reviews
“Sending fax over internet to a local or toll free number is extremely easy using its simple interface integrated with your email account. Enhanced features like digital signature and integration with mobile apps are like icing on the cake.”
See More eFax Reviews
“What I like about eFax® is that it includes a share extension, so I can fax from almost all iOS apps that support sharing. This makes it easy to fax a document from almost all of my apps.”
See More eFax Reviews8 Best Practices for Secure Faxing with Your Canon Printer
It’s important to protect your data when you send an online fax with a Canon printer. These eight practices for Canon printer fax setup and usage will help you secure your faxes:
1: Use Passwords
Secure your Canon printer with an administrator password so you can manage user access to key functions. You can also set passwords for each user so they can retrieve their own documents. This prevents important documents from being intercepted by unauthorized personnel.
2: Turn on Automatic Updates
Make sure your Canon has automatic firmware updates enabled. This ensures you have the latest security software and protocols to protect your equipment and your documents from bad actors.
3: Connect Online Through Remote UI
The Remote UI (user interface) lets users connect to your Canon printer using the Canon PRINT app or through your web browser. This helps you safely manage printer settings, documents, and user access even when you’re not in the office.
4: Use Canon CloudLink
Canon CloudLink makes it easier to work directly with your preferred cloud storage solution, like Google Drive or Dropbox. This system uses the printer screen or your Canon mobile app connected to your printer to save directly to the cloud or print cloud-based documents.
5: Stamp Documents With a Watermark
Canon printer and faxes allow users to add a watermark image to documents. Dates, timestamps, “draft” markers or other messages can help you track your documents and verify provenance.
6: Set Retrieval Alarms
You can configure your Canon printer fax to display a message on the screen or even play an audible tone to remind you to remove your documents from the feed tray or scanner glass. This will prevent your sensitive information from being seen by prying eyes.
7: Enable Network Encryption
Like eFax, Canon supports the highest levels of Transport Layer Security (TLS) encryption protocol, including TLS 1.2 and TLS 1.3. This encryption helps secure data in transmission, protecting your online faxes from interception.
8: Review Printing Tasks Using Job Log
Keep track of unauthorized or excessive printer use by checking the job log regularly. This will let you know if anyone has access to your printer when they shouldn’t.
Opt for eFax: Your Cloud Faxing Solution
Choose eFax for cloud faxing excellence. As a trusted leader in electronic faxing, eFax presents an encrypted, user-friendly platform that redefines how you send and receive faxes. With eFax, unlock a host of advantages, streamline your faxing procedures and ensure robust communication security.
Whether your priority is to safeguard confidential information, enhance document accessibility or simplify communication processes, the eFax platform has you covered. Explore why eFax stands out as the premier choice in the electronic faxing landscape, offering unparalleled features that surpass other software options.
1. Go Green with eFax
Opt for eFax, a revolutionary and eco-friendly solution that simplifies faxing while championing environmental responsibility. Say goodbye to physical fax machines and paper waste as eFax introduces an eco-conscious alternative to traditional methods. Take advantage of a greener and more convenient approach to faxing.
2. Modernize Document Exchange
Experience unparalleled convenience with eFax, leaving behind the complexities of traditional faxing. Adopt a modern solution that seamlessly streamlines the entire process, enabling you to effortlessly send and receive faxes from your computer or mobile device, anytime and anywhere. Elevate your fax communications with the inherent convenience of eFax.
Send and Receive Faxes in Minutes
Unlock the Power of Cloud-Driven Faxing
Explore the transformative capabilities of eFax. Discover how it can revolutionize your faxing procedures, streamline communication management and enhance document security. Explore the unique advantages that position eFax as an indispensable tool in your quest for efficient, environmentally conscious and secure digital faxing. Learn how the platform empowers you to seamlessly access data from any location, optimize document management and effortlessly engage in fax communications.
Related FAQs Around Faxing From Canon Printer
Use a telephone cable to connect your Canon printer to a phone line or install and configure eFax wirelessly. Place the document on the scanner bed, and navigate to the fax function on the control panel. Use the keypad to enter the fax number, and press “Start” or “Send” to begin transmission.
Faxing from a Canon printer typically requires a phone line connection. However, no phone line is necessary for faxing from a your Canon Printer with eFax and a wireless connection. The cloud-based functionality of eFax allows you to print to fax without the reliance on a traditional phone line.
Use a phone cable to connect your Canon printer or install and configure eFax wirelessly. Access the printer menu, enter fax number, and set preferences. Confirm correct date and time settings and ensure paper is loaded for incoming faxes. Send a test fax for confirmation and consult the user manual for model-specific instructions.
Your Canon fax machine offers various reports that you can easily print. Follow these steps to obtain a fax confirmation on most Canon fax machines:
- Press the Menu button on your Canon fax machine.
- Select Output Report from the menu.
- Choose Report Settings.
- Opt for Fax TX Result Report.
- Decide whether to print the report after each transmission or only when a sending error occurs.
- Select Off or On to activate or deactivate the report.
- Press Apply.
If you wish to include a portion of the sent document in the report, select Include TX Image and set it to On.
You can change the fax settings directly on the device. Simply:
- Tap the Menu button on the control panel
- Select Fax settings
- Open the setting you want to change
- Use the control panel to make your selection
On certain Canon printers, you can also change fax settings using the Canon PRINT app or Remote UI.
If your faxes aren’t printing well on your Canon printer, check the sender’s settings. If they seem normal:
- Check that you have enough toner or ink
- Check your inbound fax settings
- Check that the print head is clean
- Check that the paper feed is clean
- Check your phone line or network connection
If you’re having problems with the quality of sent faxes:
- Check your fax settings
- Check that the scanner glass is clean
- Check your phone line or network connection